
By Dr. Hemapriya, mylittlemoppet_official
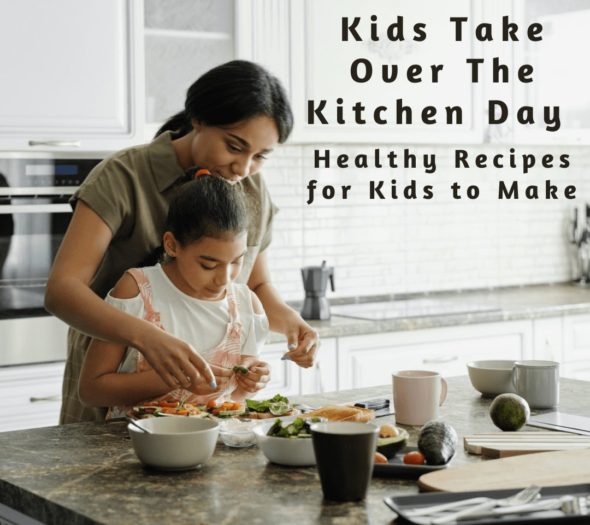
Kids take over the Kitchen Day!
This Children’s day let your child into the kitchen. Many parents are hesitant to let kids into the kitchen due to safety concerns, and having a day exclusively for this purpose encourages them to take the plunge.

Benefits of Letting Kids in the Kitchen
There are many benefits to letting kids into the kitchen. Here are some of them:
- When kids participate in the food preparation process, they are less likely to be fussy eaters
- Kids learn about the origins of what goes on their plate
- They are more likely to appreciate the value of whole foods over processed ones
- Kids who cook have a greater likelihood of developing healthy eating habits later in life
- They learn an essential life skill that they’ll need as they start their adult lives
- Learning a new skill makes them more confident and self-sufficient
- Measuring ingredients, cooking and baking teaches many lessons in math and science
- Cooking is a way to introduce kids to different cultures and cuisines
- Cooking together is a great time for family bonding, and keeps kids away from screens
If you’re ready to let your kids take over the kitchen but are unsure about where to start, don’t worry! We’ve got some healthy recipes that even young kids can get involved in, with a parent’s assistance.
Healthy Recipes for Kids to Try
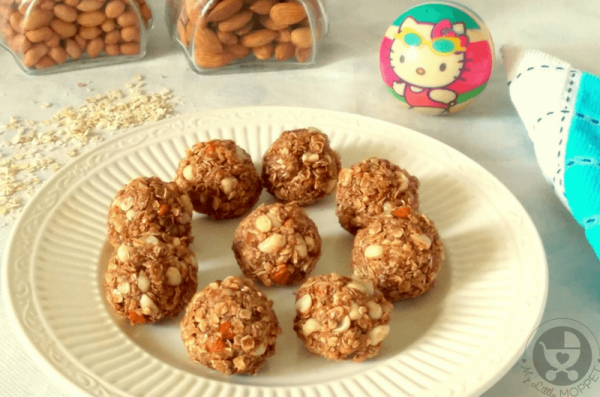
1. No-Bake Energy Balls For Kids

Ingredients:
- 1 cup roasted oats
- ½ cup roasted chopped peanuts
- ¼ cup chopped almonds
- ¼ cup raisins
- ¼ cup homemade dates syrup
- ⅛ cup desiccated coconut
- 1 tablespoon unsweetened cocoa powder
Instructions:
- Mix all dry ingredients in a mixing bowl.
- Add the dates syrup and mix well.
- Refrigerate the mix for about an hour.
- Pinch out portions from the mix and roll into round shape balls using palms.
- Keep the energy balls in air tight container.
Notes:
This is a fairly simple recipe for kids of all ages. Parents will have to roast the oats and peanuts beforehand to keep this recipe flame-free. For older kids, use this opportunity to explain fractions, like how they can use a 1/8 cup to measure the remaining ingredients.
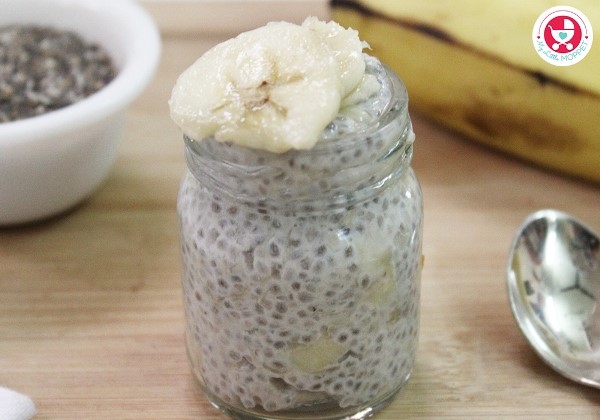
2. Banana Chia Pudding

Ingredients:
- 2 bananas
- 2 cups yogurt
- 6 tablespoon chia seeds
Instructions:
- Soak chia seeds in yogurt for 30 minutes and let them puff up.
- Grind or mash bananas to make a puree.
- In a mixing bowl combine banana puree with soaked yogurt chia seeds.
- Garnish with fruits and nuts of your choice.
Notes:
Kids will love seeing the chia seeds swell. Explain why this is happening, and why the same does not happen with pumpkin seeds. They can also see how they can sweeten a recipe without using sugar.
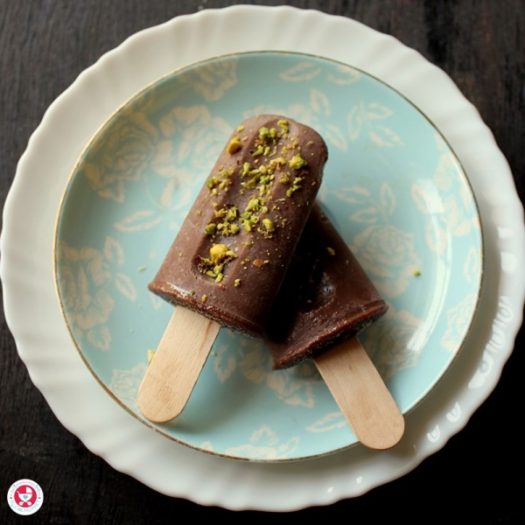
3. Chocolate Multigrain Popsicles

Ingredients:
- 2 tablespoons Little Moppet Foods Chocolate Multigrain Health Drink
- 1½ cup milk
- 2 tablespoon honey
Instructions:
- In a sauce pan, mix the milk and the Little Moppet Foods Chocolate Multigrain Health Drink.
- Stir well until you get a lump free mix.
- Cook the mix on low flame, stirring continuously till it boils. Turn off the flame.
- Allow the chocolate milk to cool down before adding honey to it.
- Stir well and pour into the Popsicle mould.
- Freeze the popsicles for 1 hour. Remove the mould, now the chocolate milk is firm enough to hold the ice-cream sticks.
- Insert one stick in each mould and transfer the mould to a freezer. Freeze for 4-6 hours.
- To unmould the popsicle, just run the mould under running water or let it stand at room temperature for 5 minutes.
- Sprinkle chopped pistachio if you prefer and serve the popsicle immediately.
Notes:
This recipe is great to learn about how liquids freeze into solids. Since it is chocolate flavored, the kids will enjoy the Popsicles. Parents will need to assist in cooking the healthy drink with the milk.
4. Frozen Yogurt Banana Bites


Ingredients:
- 3 bananas
- 1 cup yoghurt
- Butter to grease
Instructions:
- Line a baking pan with a sheet of parchment paper. Grease the paper with butter.
- Slice two bananas into half inch slices.
- Freeze the slices for 15 minutes.
- Mash the third banana in a bowl. Add yoghurt and whisk well.
- Take out the frozen banana slices from the freezer.
- Dip each slice of frozen banana in the yogurt mash mixture and place on the parchment paper.
- Refrigerate for 2 hours or overnight.
Notes:
Bananas are perfect for kids beginning to learn cutting skills. You can use a child-safe knife or scissors to slice the bananas. They’ll also have fun mashing the banana with the yogurt. Very young children can count out 3 bananas too.
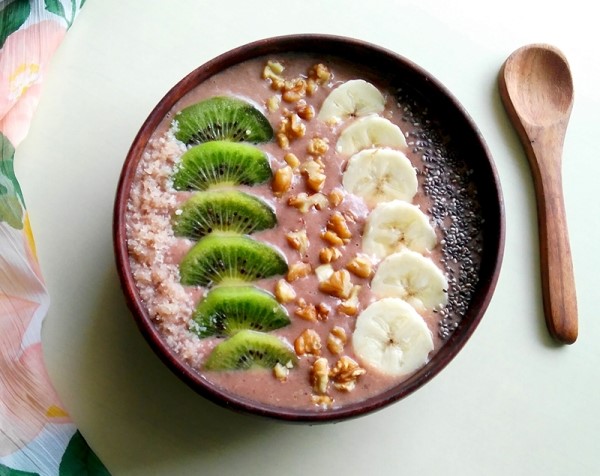
5. Choco Dates Smoothie

Ingredients:
- 2 tablespoons Little Moppet Foods Choco dates smoothie powder
- ¼ cup milk
- 1 ripe banana
- 1 tablespoon honey
- 1 tablespoon desiccated coconut
- Garnish – Banana slices, Kiwi slices, Chopped walnuts, Chia seeds, Desiccated coconut
Instructions:
- To a blender jar, add all the ingredients and pulse 3-4 times to get a smooth creamy smoothie.
- Pour the smoothie into a bowl and garnish with sliced fruit, chopped nuts and seeds.
- Serve immediately.
Notes:
This is an easy recipe for kids of all ages. Let them decide upon the toppings they want, so they can customize it to their liking. Show them the picture but let them decorate it any way they like.
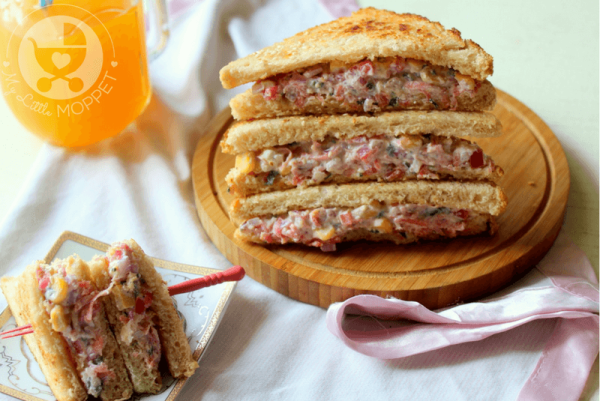
6. Hung Curd Vegetable Sandwich

Ingredients:
- 4 brown bread slices
- 1 teaspoon sesame seeds
- 1 tablespoon butter
- ½ cup hung curd (hang 1.5 cup curd in a muslin cloth for 3-4 hours to get ½ cup hung curd )
- ¼ cup grated carrots
- ¼ cup finely chopped red onions
- 1 small tomato, deseeded and finely chopped
- 1 tablespoon coriander leaves, finely chopped
- 2 tablespoon boiled sweet corn
- Black pepper to taste
- Salt to taste
Instructions:
- In a mixing bowl mix the hung curd with all the veggies. Season with salt and pepper. Keep aside.
- Apply butter on the bread slices . Heat a skillet. Sprinkle sesame seeds over it.
- Place the bread slices over the sesame seeds. Toast the bread on both sides. Keep aside.
- Place 2 slices on the plate. Add about 2 tablespoon of filling and spread it evenly on each slice.
- Place the remaining slices over the filling. Press lightly.
- Cut the sandwich either diagonally or into bite size rectangles and serve.
Notes:
Parents may need to help with toasting the bread slices and cutting all the vegetables. Younger kids can pick out the vegetables from the fridge and they can also help with mixing the filling. Older kids can try customizing the filling by adding their own twist.
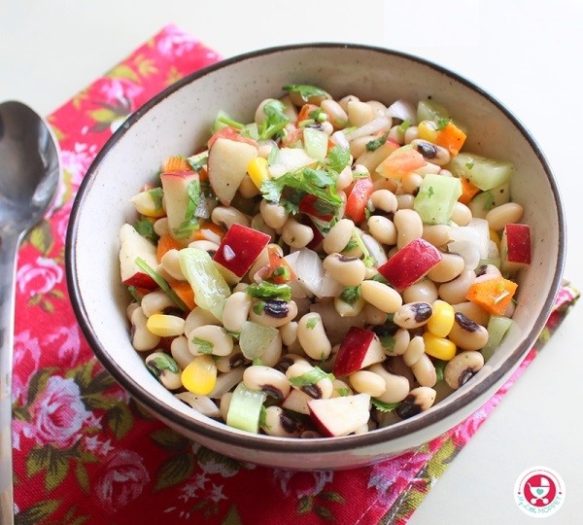
7. Black Eyed Beans Salad

Ingredients:
- ½ cup lobia beans
- ½ apple, finely chopped
- 1 small cucumber, finely chopped
- ½ carrot, finely chopped
- 1 small onion, finely chopped (optional)
- 1 small tomato, deseeded and chopped finely
- 1 tablespoon fresh coriander leaves, finely chopped
- 1 tablespoon sweet corn kernels, boiled
- Freshly crushed black pepper corn
- Juice of 1 lemon
- Salt to taste
Instructions:
- Rinse and soak the black eyed beans in enough water for 8 hours.
- Drain, rinse and pressure cook the beans for 2 whistles or till cooked, but still holding their shape.
- Allow to cool down completely.
- In a large bowl, add the boiled beans, chopped veggies and fruits. Toss well.
- Season the salad with lemon juice, black pepper powder and salt.
Notes:
Most kids refuse salads, but once they try making their own, they’ll enjoy it. With a combination of fruits and vegetables, this salad uses lots of colors. Add some boiled eggs too, if you like.
All these recipes are simple enough to make, and many of them are flame-free. Here are some skills kids from ages 3-6 can learn:
- Gathering ingredients
- Counting large ingredients
- Washing fruits and veggies
- Mixing things in a bowl
- Mashing foods in a bowl
Kids aged 7-10 can try all these in addition to the following:
- Cracking eggs
- Measuring ingredients
- Kneading dough
- Cutting soft foods like bananas with a plastic knife or child-safe knife/scissors
- Spreading, sieving and pounding
Kids older than 10 can try more advanced kitchen tasks like these:
- Knife safety and knife skills
- Grating
- Separating eggs
- Handling the stove
- Using kitchen appliances like toaster and blender
And then there’s creativity, which applies to kids of all ages! Let your child experiment with ingredients and try to mix unique flavors. You never know – you may have a budding Masterchef on your hands!